Posted on 6 Comments

tinkerBOY DPI Adapter v1.0: Brightness Control

On this guide, I will be showing you how to add brightness control functionality for the tinkerBOY DPI Adapter. You need a tactile button switch for it.

Let’s get started

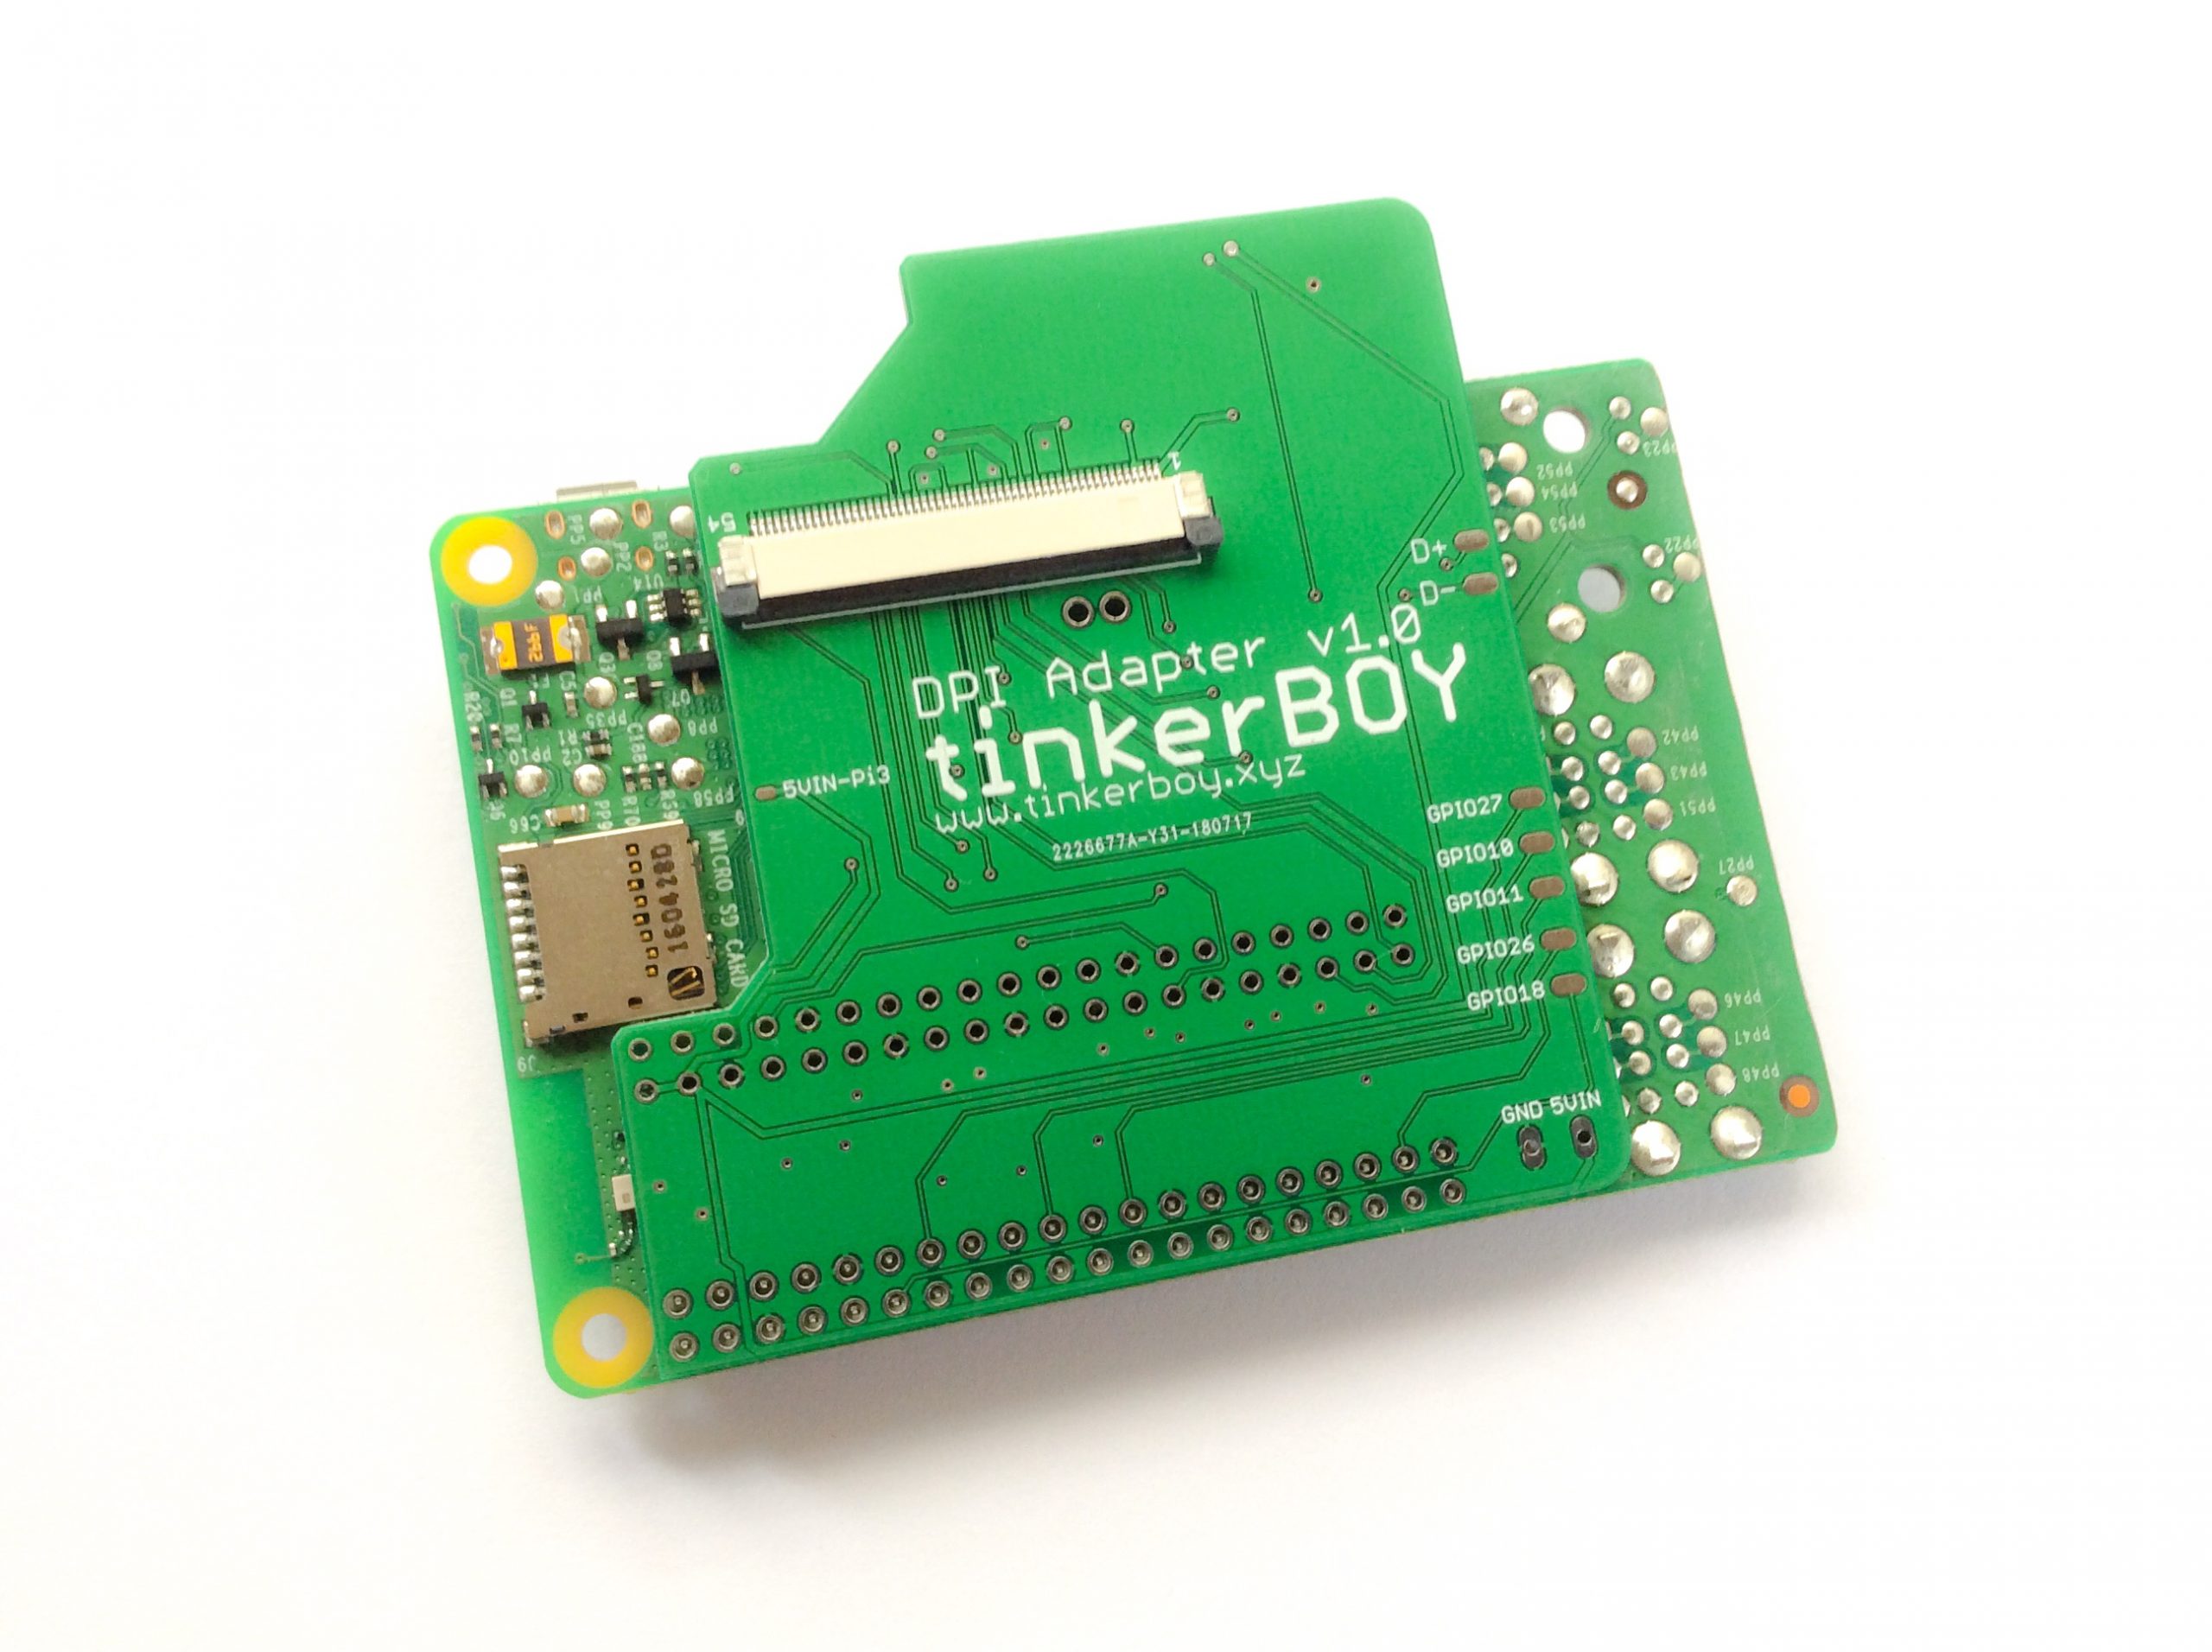
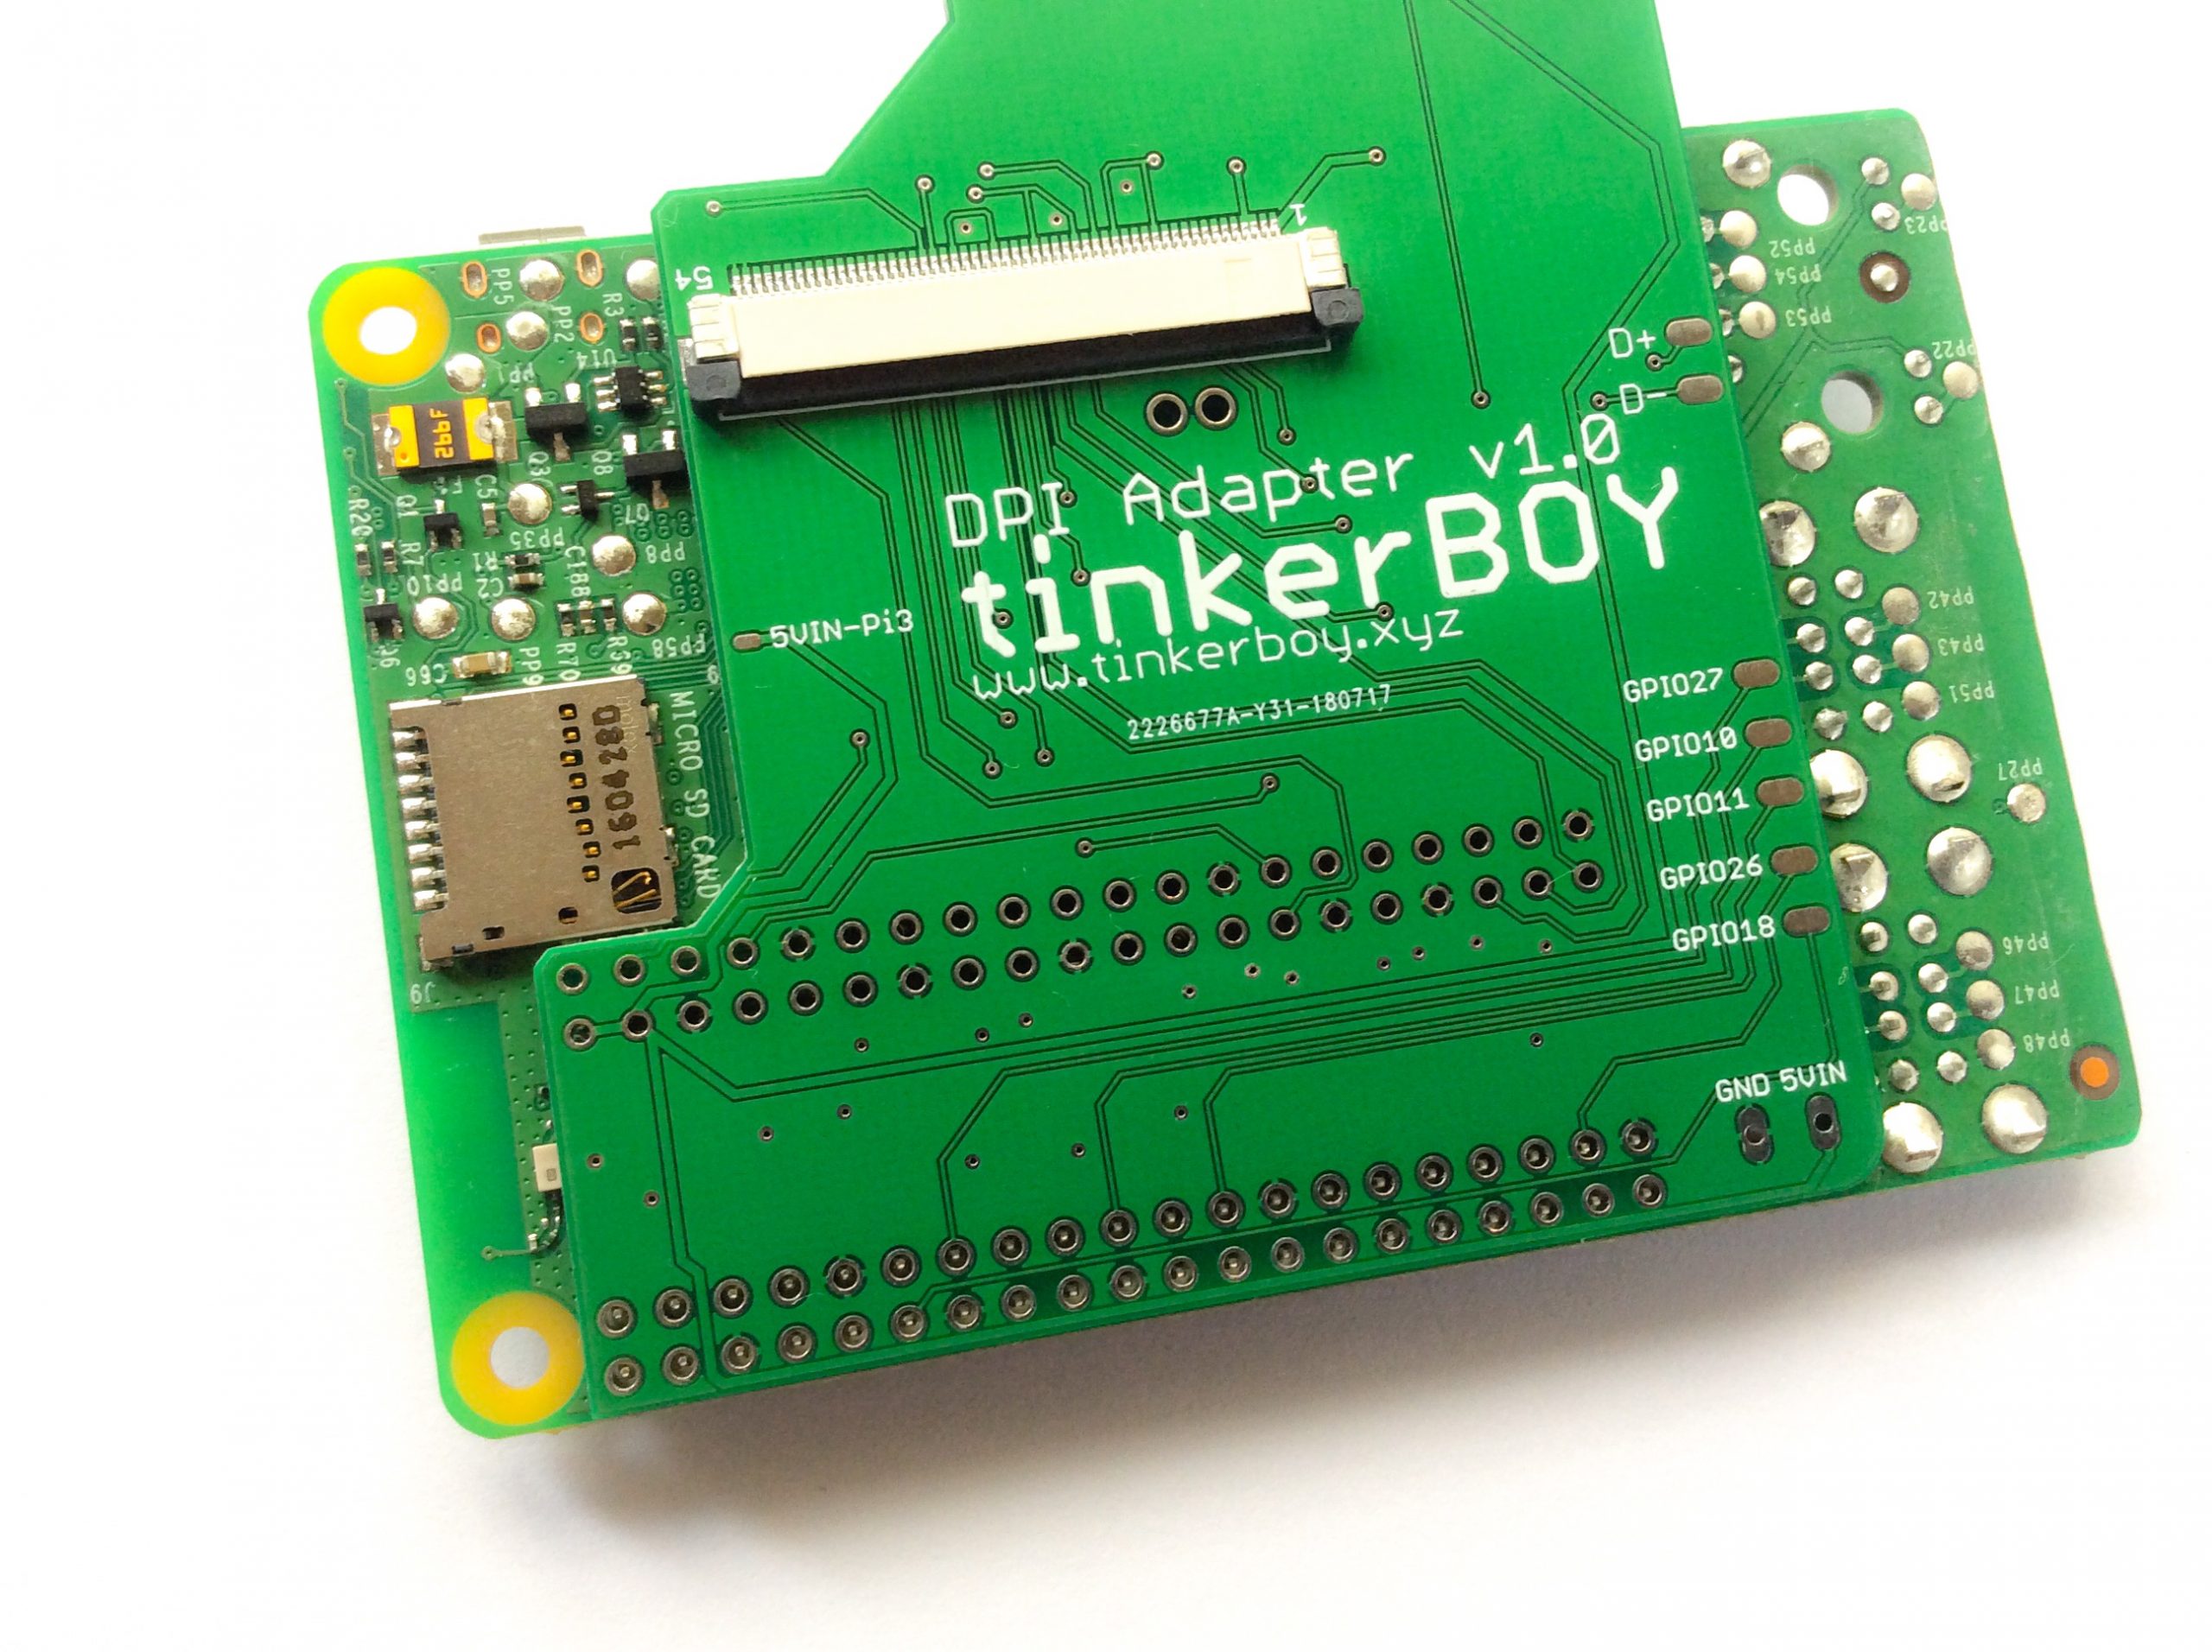
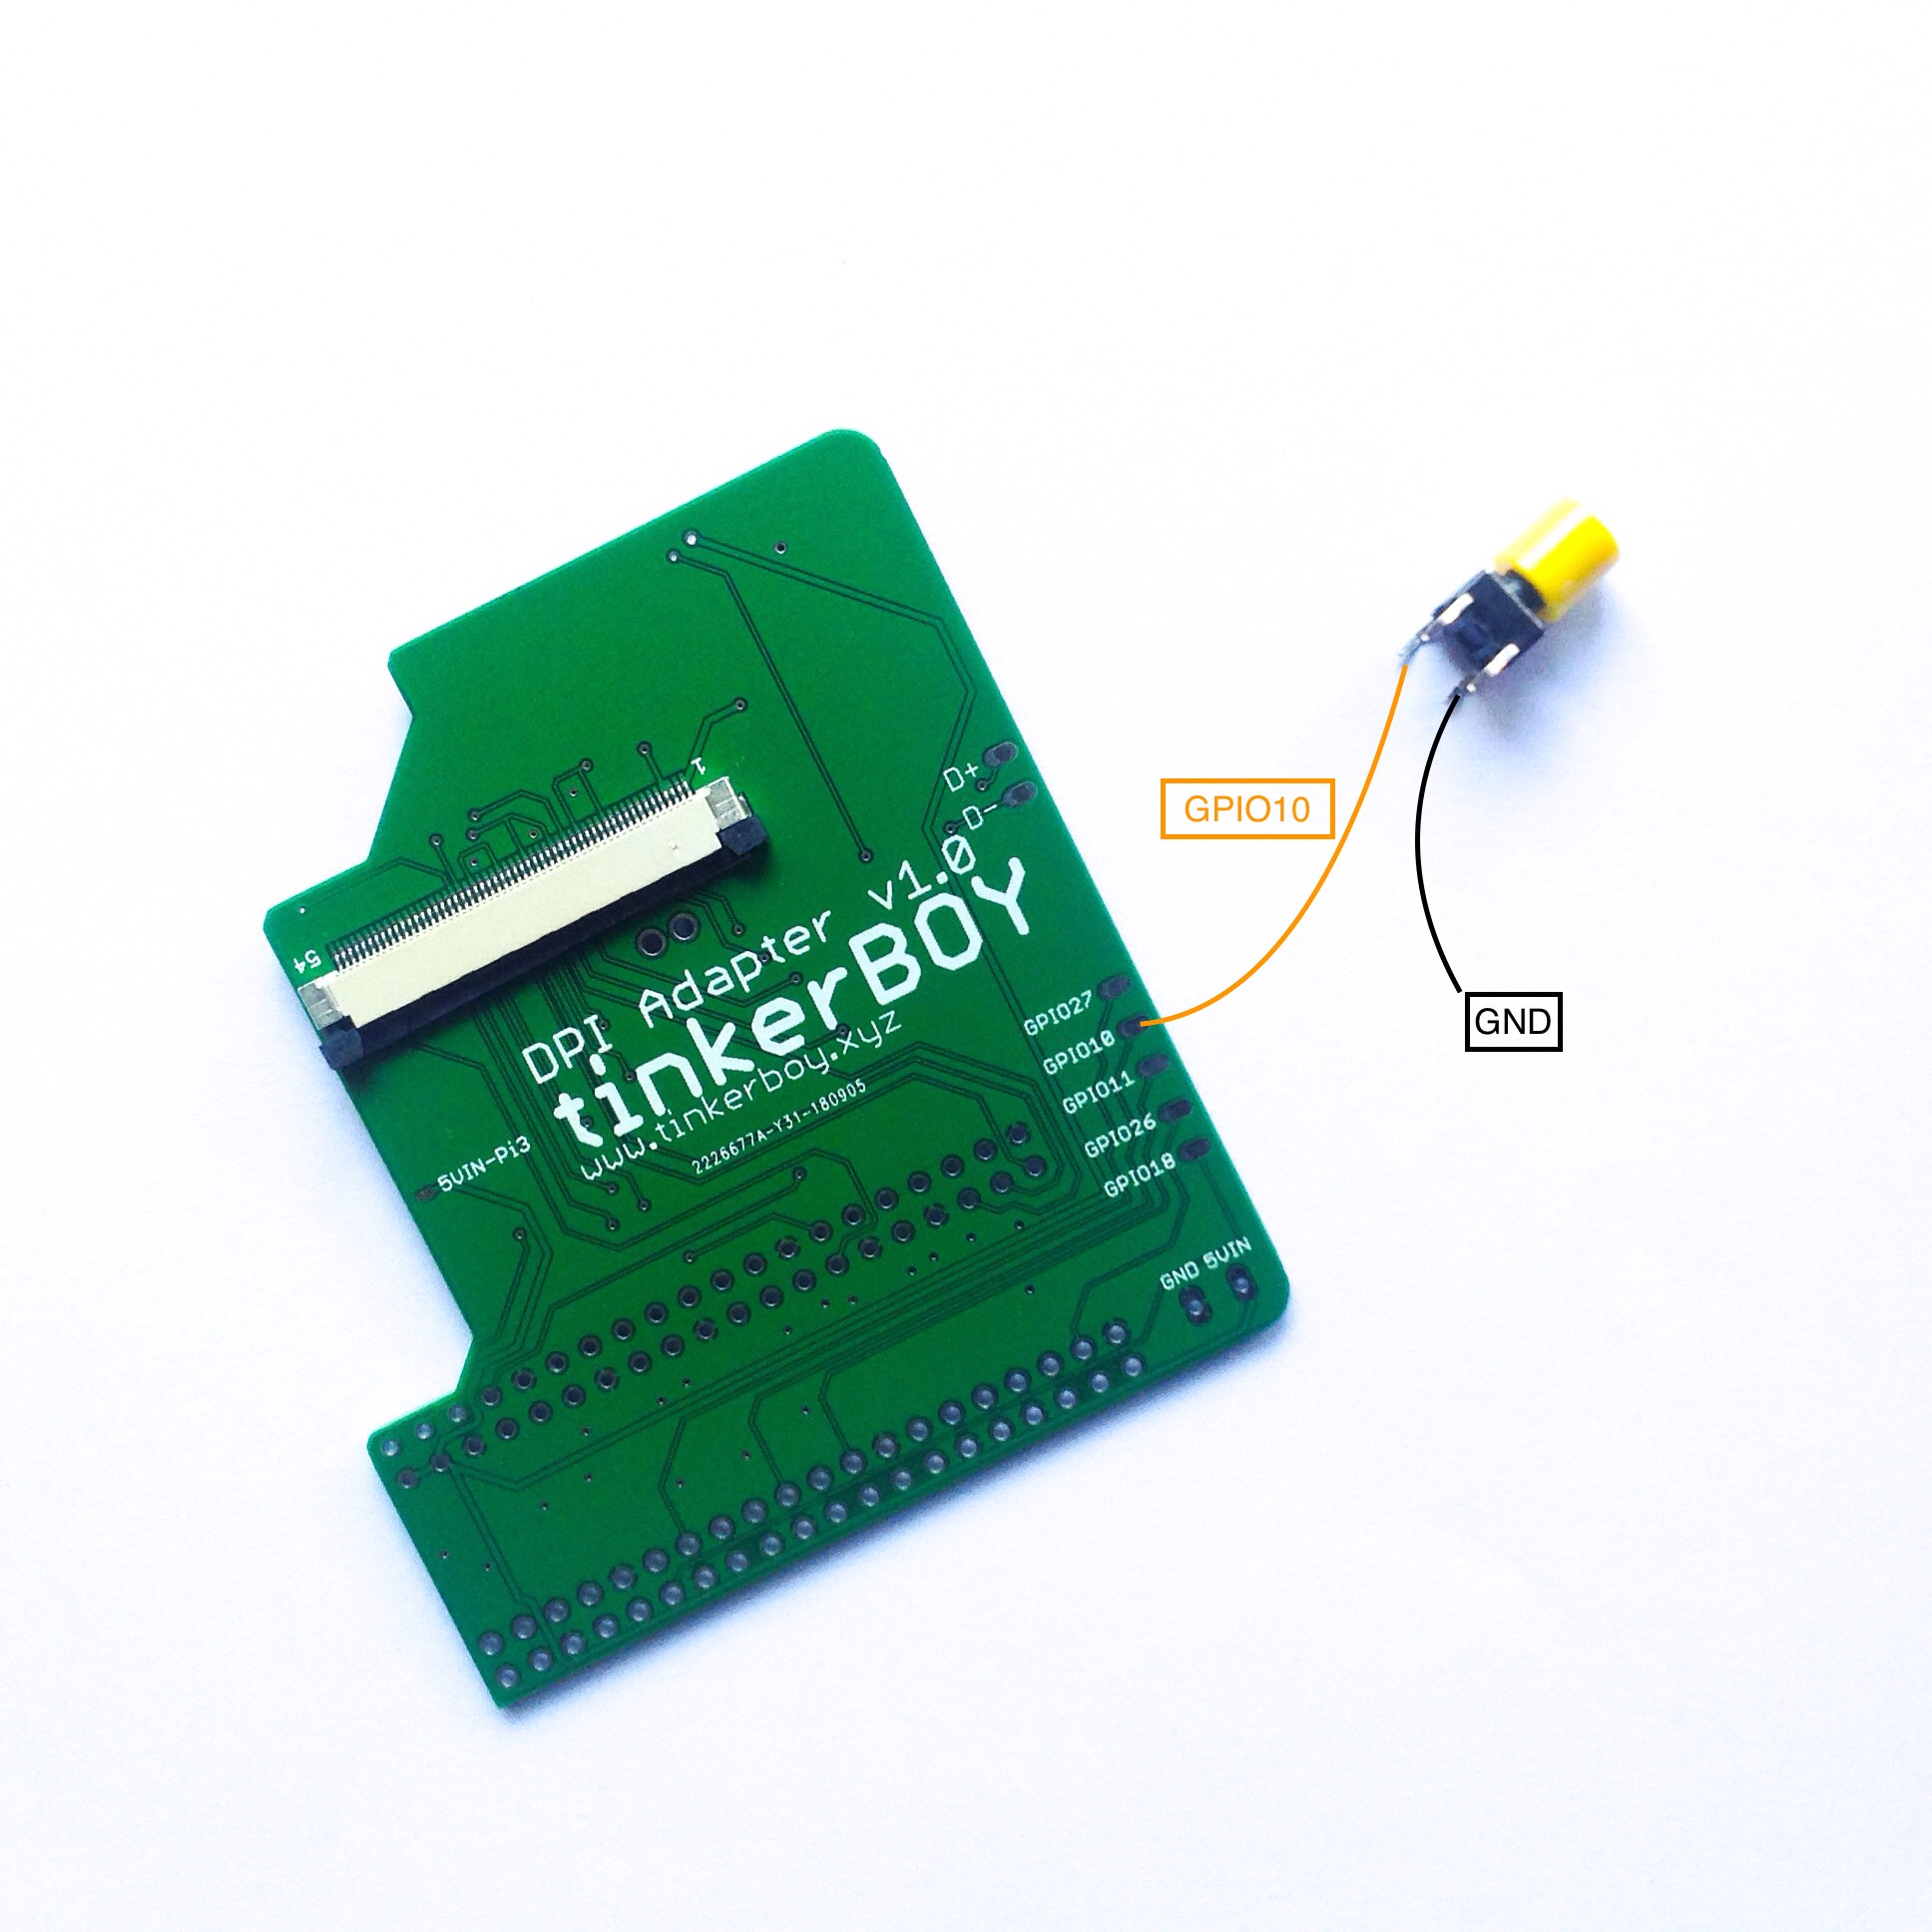
Wire one pin of the button to the GPIO10 pad on the back of the DPI Adapter and the other to any GND.

On the software side, you just need to download and run a program in the background and just press the button to control the brightness.

Login to your pi via SSH and enter the following command:

wget https://github.com/tinkerBOY-git/RetroPie/releases/download/retropie4.4/pi.sh && sudo bash pi.sh

Now, sudo reboot and you’re done.

You should now be able to control the brightness of you DPI screen by pressing the button.

Posted on 15 Comments

tinkerBOY DPI Adapter v1.0: Visual Guide for Raspberry Pi 3

Start by removing the USB ports and ethernet port, cut the header pins, and trim the side of the P1 3 board where you removed the ports.

The idea is to mount the Pi 3 inside the Game Boy DMG case so that the sdcard is accessible via the “CONTRAST” area of the case. Use any rotary tool to trim the upper corners to make space for the 3d printed bracket’s top screw posts so you can easily mount it later inside the case.

Before joining the adapter and Pi 3 together make sure you put any protection like kapton tape in between to avoid shorts. Solder the pin holes from the adapter where the bottom GPIO pins of the Pi 3 are located. Unlike the Pi Zero which can be powered directly from the GPIO pins, the Pi 3 is protected by a fuse so it’s recommended to power it via the PP2(5v+) and PP5(GND) pin. Here’s how you do it.

This how it looks inside the Game Boy DMG case:

The 5VIN and GND pin holes below the tinkerBOY DPI Adapter are your 5v and GND inputs.